Testing push notifications can be a challenging task, especially if you don’t have a physical device on hand to test with. Fortunately, there are tools available that allow you to test push notifications on the iOS simulator. Let’s explore how to use the simctl command line tool to simulate push notifications on the iOS simulator.
Prerequisites
Before we get started, you’ll need to make sure you have the following:
- A Mac with Xcode and the iOS simulator installed
- An app installed on the iOS simulator that you want to send push notifications to
Grant Permissions
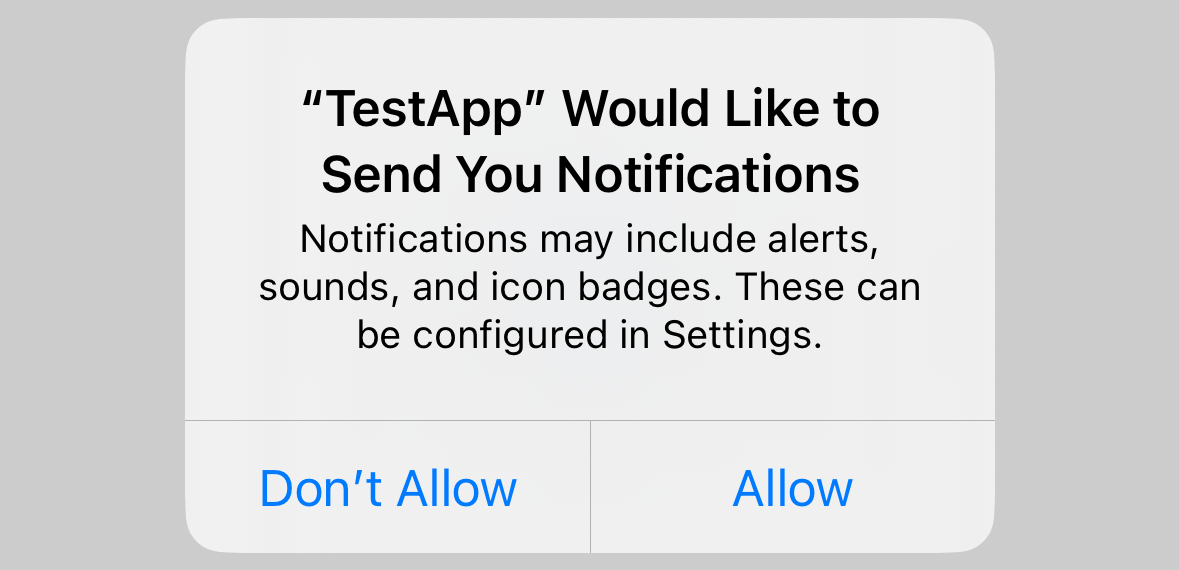
Before you can schedule or deliver notifications, you need to ask the user for permission to do so.
Firstly, import the UserNotifications framework.
Then include the following code in your app when it launches:
UNUserNotificationCenter.current().requestAuthorization(options: [.alert, .badge]) {(granted, error) in
    print("Permission granted: \(granted)")
}
This will give you the following prompt:
Push Notification Payload
The push notification payload is a JSON object that contains the data for the push notification.
An alert type push notification payload might look something like this:
{
  "aps" : {
    "alert" : {
      "title" : "Title of the alert",
      "body" : "Body of the alert"
    }
  }
}
A badge type push notification payload might look something like this:
{
  "aps" : {
    "badge" : 42
  }
}
Both of these payloads use the aps dictionary to specify the data for the push notification. The alert type payload includes a nested alert dictionary that specifies the title and body of the alert, while the badge type payload includes a badge key that specifies the badge number to be displayed.

![]()
For more information on the structure of push notification payloads and the different options available, you can refer to the Apple documentation.
Creating the .apn or .json File
The first step in simulating push notifications on the iOS simulator is to create the .apn file (it can also be a .json file) that contains the payload for the push notification. You can create this file manually using a text editor, or you can use a script to generate the file for you.
Here’s an example of a script that prompts the user for the necessary information to create an .apn file:
import Foundation

print("Choose a type of push notification: (1) Alert (2) Badge")
let pushType = readLine()!

var payload: [String: Any]

if pushType == "1" {
  print("Enter the title of the alert:")
  let title = readLine()!

  print("Enter the body of the alert:")
  let body = readLine()!

  payload = [
    "aps" : [
      "alert" : [
        "title" : title,
        "body" : body
      ]
    ]
  ]
} else {
  print("Enter the badge number:")
  let badge = readLine()!

  payload = [
    "aps" : [
      "badge" : Int(badge)!,
    ]
  ]
}

do {
  let data = try JSONSerialization.data(withJSONObject: payload, options: .prettyPrinted)
  let jsonString = String(data: data, encoding: .utf8)!
  try jsonString.write(toFile: "push.apn", atomically: true, encoding: .utf8)
  print("Successfully created push.apn file")
} catch {
  print("Error creating push.apn file: \(error)")
}
This script prompts the user to choose between an “alert” type push notification or a “badge” type push notification, and then asks for the necessary information to create the payload for the push notification. The payload is then serialized to JSON and written to a file called “push.apn”.
To use this script, you’ll need to save it to a file with a .swift extension (e.g. push_notification.swift). You can then run the script using the swift command in a terminal window.
For example, if you saved the script to a file called push_notification.swift, you would run it like this:
swift push_notification.swift
The script will then execute, and you’ll be prompted to enter the necessary information to create the .apn file and send the push notification to the iOS simulator.
Sending the Push Notification
Once you have created the .apn file, you can use the simctl command line tool to send the push notification to the iOS simulator.
To send the push notification, use the following command:
xcrun simctl push booted <bundle-id> push.apn
Replace <bundle-id> with the bundle ID of the app on the simulated device that you want to send the push notification to.
For example, if the bundle ID of the app on the simulated device is com.example.app, you would use the following command:
xcrun simctl push booted com.example.app push.apn
If the push notification was successfully sent, you should see a message like this
Notification sent to 'com.example.app'
If the app is in the foreground, you should see the push notification displayed immediately. If the app is in the background, the push notification will be delivered to the app when it becomes active again.
One Script
To save creating and saving the .apn file, you could add the xcrun command to a script like the one below.
import Foundation

print("Choose a type of push notification: (1) Alert (2) Badge")
let pushType = readLine()!

var payload: [String: Any]

if pushType == "1" {
    print("Enter the title of the alert:")
    let title = readLine()!

    print("Enter the body of the alert:")
    let body = readLine()!

    payload = [
        "aps" : [
            "alert" : [
                "title" : title,
                "body" : body
            ]
        ]
    ]
} else {
    print("Enter the badge number:")
    let badge = readLine()!

    payload = [
        "aps" : [
            "badge" : Int(badge)!,
        ]
    ]
}

do {
    let data = try JSONSerialization.data(withJSONObject: payload, options: .prettyPrinted)
    let jsonString = String(data: data, encoding: .utf8)!
    try jsonString.write(toFile: "push.apn", atomically: true, encoding: .utf8)

    print("Enter the bundle ID of the app on the simulated device:")
    let bundleID = readLine()!

    let process = Process()
    process.executableURL = URL(fileURLWithPath: "/usr/bin/xcrun")
    process.arguments = ["simctl", "push", "booted", bundleID, "push.apn"]

    do {
        try process.run()
        process.waitUntilExit()
        do {
            let fileManager = FileManager.default
            if fileManager.fileExists(atPath: "push.apn") {
                try fileManager.removeItem(atPath: "push.apn")
            } else {
                print("File does not exist")
            }
        }
        catch let error as NSError {
            print("An error took place: \(error)")
        }
    } catch {
        print("Error sending push notification: \(error)")
    }
} catch {
    print("Error sending push notification: \(error)")
}
If you saved the script to a file called push-local.swift and run like below:
swift push-local.swift
Now you can easily test alert or badge push notifications on the iOS simulator with this interactive script. Simply follow the prompts to create and send a notification.
Drag and Drop
Another convenient way to test push notifications on the simulator is to create a simple json file and ensure you include “Simulator Target Bundle”. Save the file with .apns format.
{
  "aps" : {
    "Simulator Target Bundle": "com.example.app",
    "alert" : {
      "title" : "Test",
      "body" : "Body"
    }
  }
}
Then you can drag and drop the file onto the simulator to see the notification.
Conclusion
In this tutorial, we learned how to use the simctl command line tool to simulate push notifications on the iOS simulator. This is a useful technique for testing push notifications during the development process, as it allows you to test without the need for a physical device.